
Use the following workflow to create a new company API key with the appropriate permissions, expiration, and data access restrictions.
Before you begin
- Confirm that you have access to Admin > Developers > API Access.
- Identify the application, service, or integration that will use the key.
- List the API resources and actions the integration needs. Choose the minimum required permissions rather than granting broad access.
- Determine whether the integration should access the entire company or only specific Groups.
- Decide how long the key should remain valid and plan the key rotation date before expiration.
- Prepare a secure server-side location for storing the key. Do not store it in client-side code, source-control repositories, tickets, chat messages, or email.
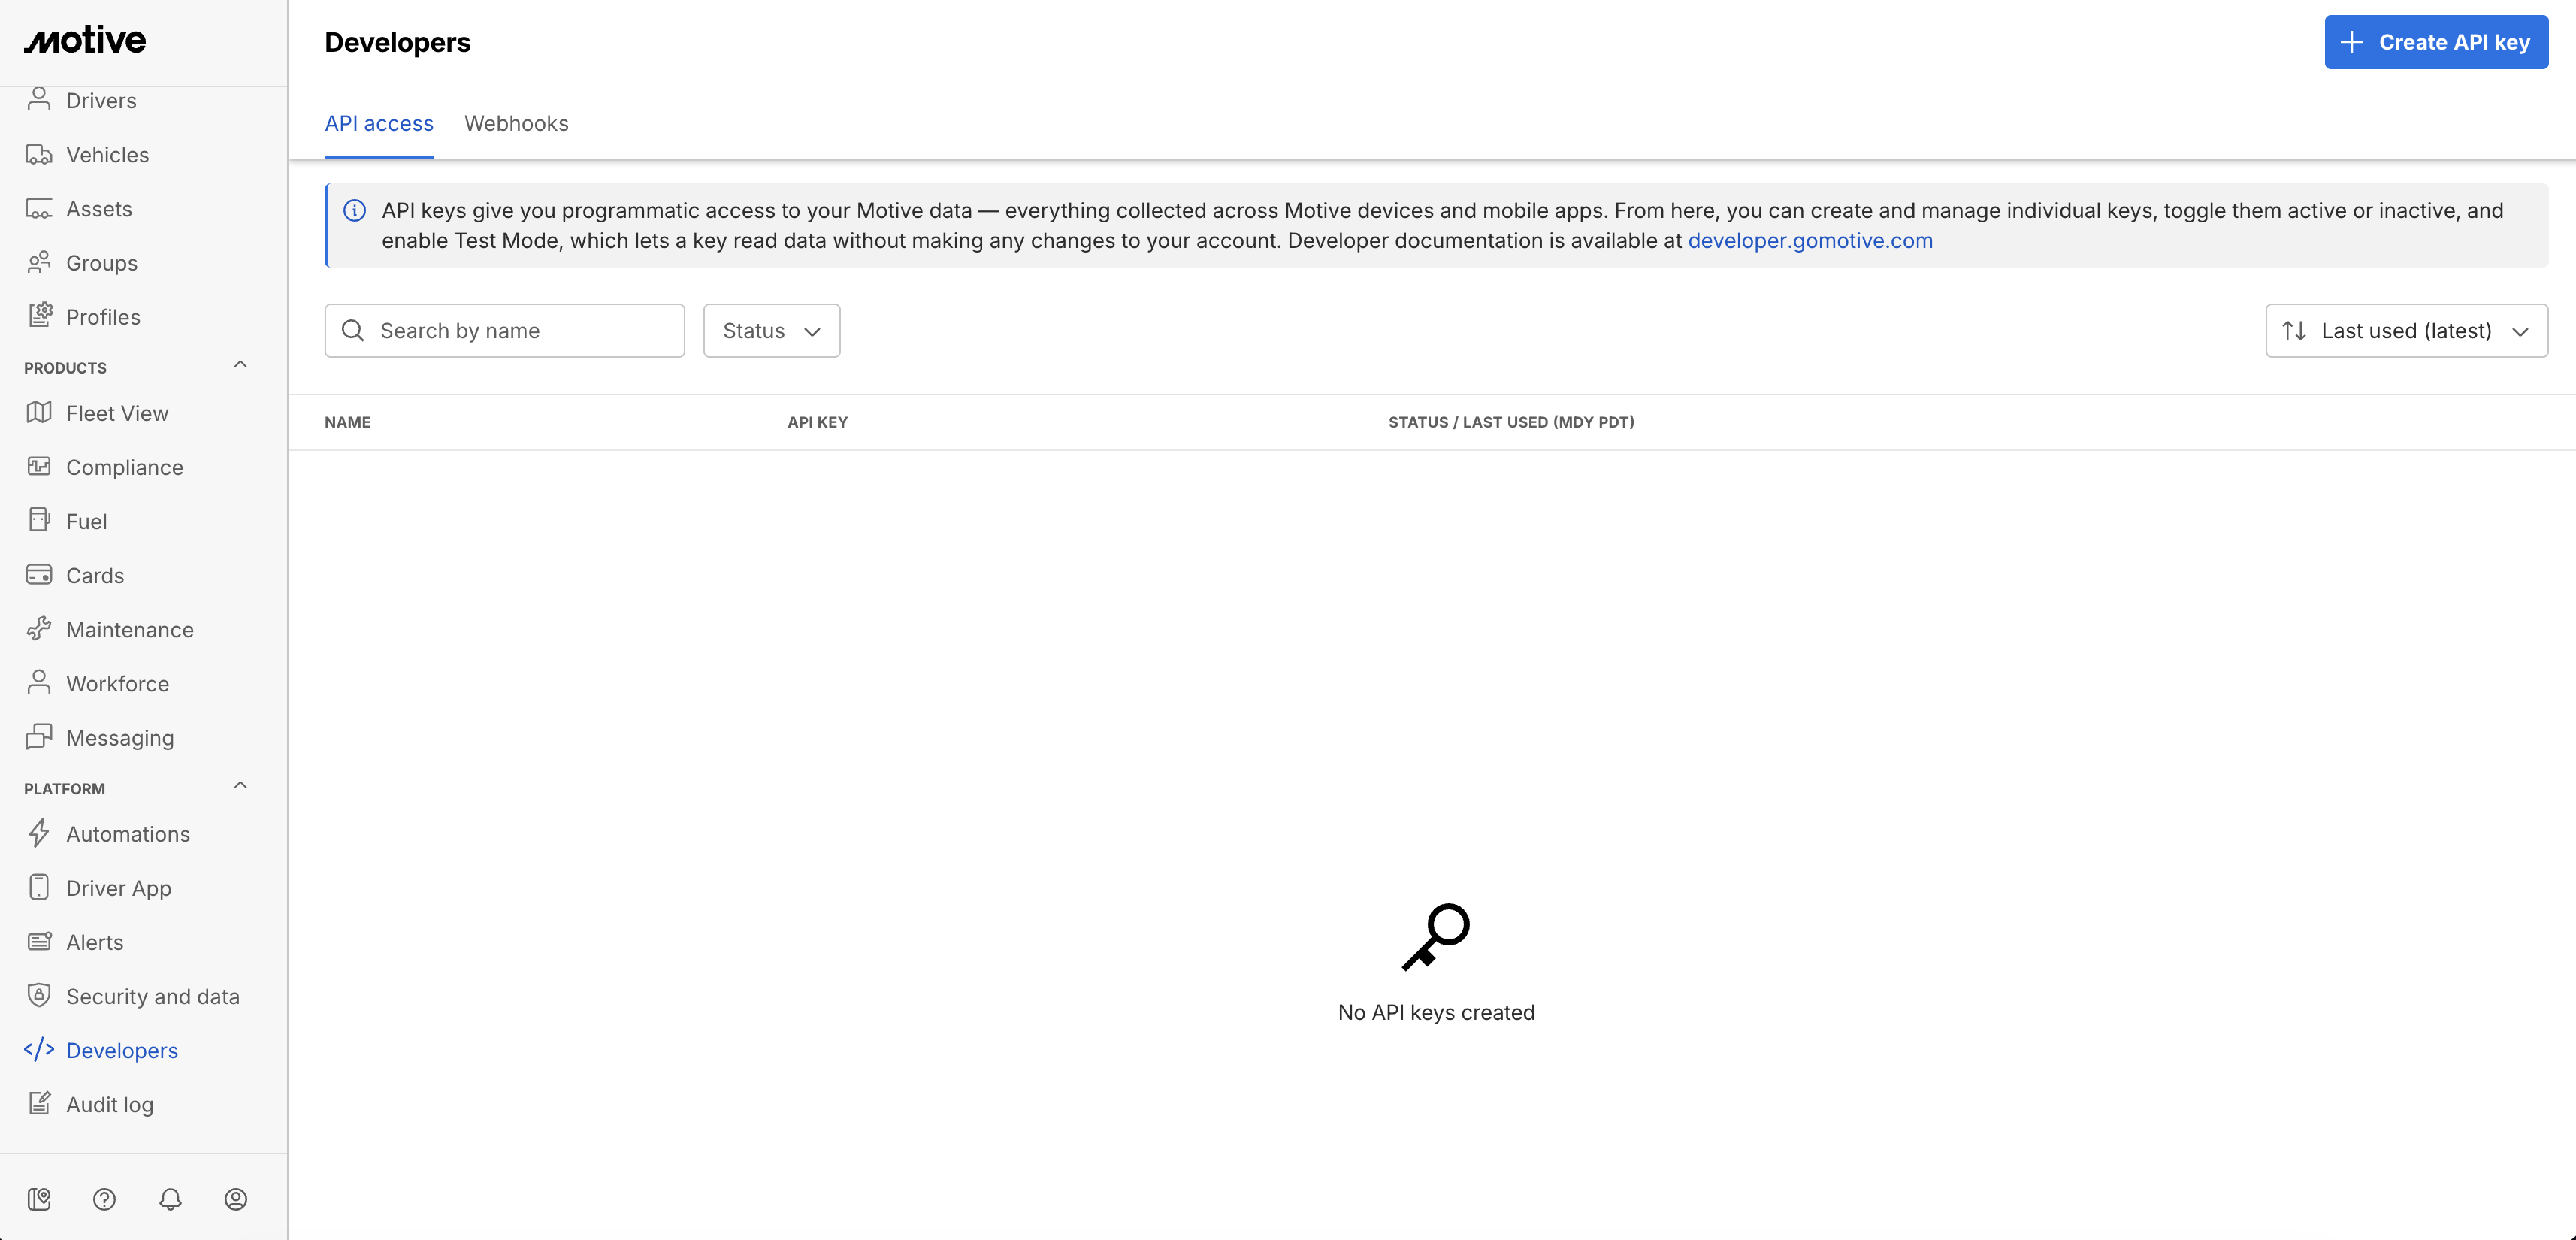
Step 1: Open API Access
- Sign in to Motive.
- Go to Admin > Developers > API Access.
- Select + Create API Key.
The API Access page shows existing keys and their status, permissions, expiration, and Group scope. Existing keys continue to work with their current behavior during the initial rollout; these steps apply to new keys.
Step 2: Enter a key name
Enter a descriptive name that identifies the application or integration that will use the key.
Use a name that helps administrators recognize the key later. For example:
- Warehouse reporting integration
- Regional dispatch service
- Fleet analytics production
Avoid using the key value, passwords, or other secrets in the name.
Step 3: Select API permissions
- Select the scopes required by the integration.
- Review the available API resources.
- Select the required scope for each resource.
- Check whether the selected scope provides read or manage access.
- Remove any scope that the integration does not need.
- Use read access when the integration only retrieves data. Select manage access only when the integration must create, update, or otherwise modify data through supported endpoints.
- New API keys require explicit scopes. The key can access only the APIs and actions represented by the selected scopes.
Step 4: Set the expiration duration
Choose an expiration duration for the key. New keys can have an optional expiration date. When selecting the duration:
- Consider the integration’s expected lifetime.
- Choose the shortest duration that supports the business requirement.
- Record the expiration date in the integration owner’s maintenance process.
- Schedule key rotation before the expiration date.
- Motive automatically expires the key when the selected duration is reached. Default admins receive an IMPORTANT notification in the Notification Center seven days before expiration.
Step 5: Restrict access to Groups, if needed
If the integration should access only part of the company’s data, select the relevant Groups.
- Open the Group-scope selection.
- Select the Groups the integration is allowed to access.
- Review the selection before creating the key.
A Group-scoped key returns only the data associated with the selected Groups. If the integration requires company-wide access, use the appropriate configuration for that use case and confirm that the broader access is necessary.
Not every API endpoint supports Group scoping. Here is a complete list of all the supported endpoints.
Step 6: Review the configuration
Before creating the key, verify the following:
- The key name identifies the correct integration.
- Every selected scope is required.
- Read and manage permissions are appropriate for the integration.
- The expiration duration supports the integration’s needs.
- The selected Groups match the intended data boundary.
- The integration owner knows that the full key will be displayed only once.
Step 7: Create and copy the key
- Select Create. Wait for the one-time copy modal to appear.
- Copy the complete API key immediately.
- Store it in an approved secrets-management system or secure server-side configuration.
- Confirm that the integration owner or deployment process can retrieve the secret securely.
- Close the modal only after the key has been stored successfully.
The full API key is shown only in the one-time copy modal. After the modal is closed, the key is masked in API - Access and cannot be retrieved or copied again.
Step 8: Configure the integration securely
Add the key to the integration using the authentication method required by the Motive API documentation. Follow these practices:
- Store the key on the server side, not in browser or mobile application code.
- Use a secrets manager or protected environment variable.
Do not commit the key to source control. - Do not share the key through email, chat, tickets, or unencrypted documents.
- Limit access to the secret to the people and services that operate the integration.
- Test the integration with the selected permissions and Group scope before enabling production workloads.
Step 9: Plan replacement and rotation
- Monitor the expiration date and rotate the key before it expires. When creating the replacement key, repeat this workflow and select the required scopes, expiration, and Groups.
- Expired or deactivated keys cannot be reactivated. If the integration needs different permissions or Group access, create a replacement key rather than trying to modify or reactivate the existing key.